Scan to join WeChat group
article
README
🚀 @boomlinkai/image-worker-mcp
这是一个快速、即插即用的MCP服务器,专为人工智能助手和自动化工作流设计,可实现图像处理和云端上传功能,极大提升开发效率和工作流自动化程度。
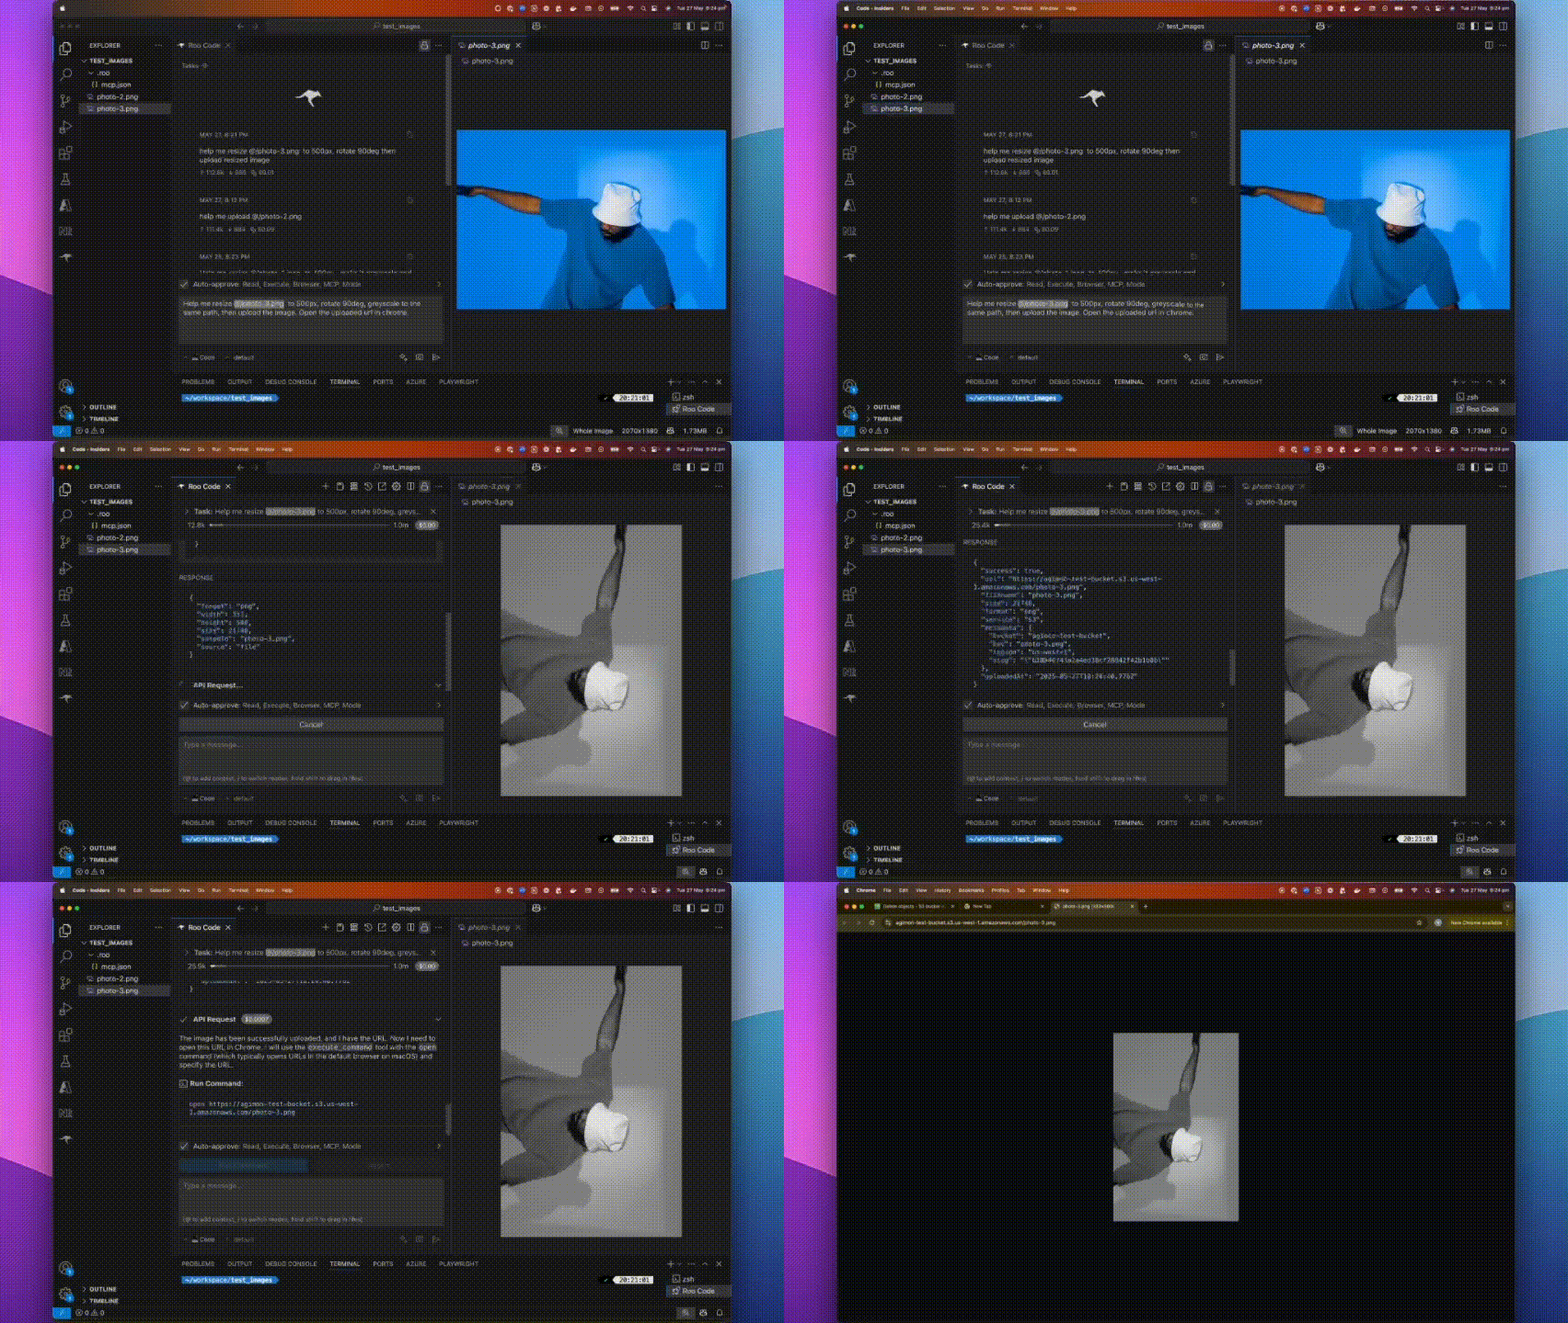
🚀 快速开始
启动MCP服务器
npx @boomlinkai/image-worker-mcp
示例:人工智能助手工作流
调整图像大小
{
  "tool_code": "use_mcp_tool",
  "tool_name": "resize_image",
  "server_name": "image-worker",
  "arguments": {
    "imageUrl": "https://example.com/original.jpg",
    "width": 800,
    "format": "webp",
    "outputPath": "./resized_image.webp"
  }
}
上传图像
{
  "tool_code": "use_mcp_tool",
  "tool_name": "upload_image",
  "server_name": "image-worker",
  "arguments": {
    "imagePath": "./resized_image.webp",
    "service": "s3",
    "filename": "my-optimized-image",
    "folder": "website-assets"
  }
}
✨ 主要特性
- 一站式图像处理:借助强大的 sharp 库,可实现图像的调整大小、转换格式、优化和变换等操作。
- 轻松实现云端上传:支持与AWS S3、Cloudflare R2、Google Cloud Storage等云存储服务集成。
- 适配人工智能与工作流:基于MCP构建,可与任何人工智能助手或工作流运行器集成。
- 灵活的输入方式:支持文件路径、URL或Base64编码的图像作为输入。
- 可自动化操作:支持脚本编写,适用于批量任务或作为后端服务使用。
📦 安装指南
使用npm(或yarn/pnpm)安装
npm install -g @boomlinkai/image-worker-mcp
# 或者
yarn global add @boomlinkai/image-worker-mcp
# 或者
pnpm add -g @boomlinkai/image-worker-mcp
直接使用(无需安装)
npx @boomlinkai/image-worker-mcp
📚 详细文档
使用与配置
MCP服务器通过标准输入输出(stdio) 工作,便于集成到人工智能工具和代码编辑器中。
平台集成
点击展开平台设置指南(Cursor、Windsurf、VSCode、Zed、Claude、BoltAI、Roo Code)
Cursor
添加到 ~/.cursor/mcp.json:
{
  "mcpServers": {
    "image-worker": {
      "command": "npx",
      "args": ["-y", "@boomlinkai/image-worker-mcp"]
    }
  }
}
工具参考
resize_image
可通过以下方式调整和转换图像:
imagePath、imageUrl或base64Image(输入)width、height、fit、format、quality、rotate等参数- 返回处理后图像的路径或Base64编码
upload_image
可将任何图像(通过路径/URL/Base64编码)上传到:
service:s3|cloudflare|gcloud- 支持设置
filename、folder、public等参数 - 通过环境变量设置凭证
环境变量
为所选的云存储提供商设置以下环境变量:
AWS S3
export AWS_ACCESS_KEY_ID=xxx
export AWS_SECRET_ACCESS_KEY=xxx
export S3_BUCKET=your-bucket
export S3_REGION=us-east-1
# 可选:S3_ENDPOINT=https://...
Cloudflare R2
export CLOUDFLARE_R2_ACCESS_KEY_ID=xxx
export CLOUDFLARE_R2_SECRET_ACCESS_KEY=xxx
export CLOUDFLARE_R2_BUCKET=your-bucket
export CLOUDFLARE_R2_ENDPOINT=https://...
Google Cloud Storage
export GCLOUD_PROJECT_ID=xxx
export GCLOUD_BUCKET=your-bucket
# 可选:GCLOUD_CREDENTIALS_PATH=/path/to/key.json
默认上传服务
export UPLOAD_SERVICE=s3
⚠️ 重要提示
切勿将凭证提交到源代码管理中。建议使用环境变量或秘密管理器进行管理。
系统要求
- Node.js 18.x 或更高版本
- 无需系统依赖项;
sharp会自动安装
故障排除 / 常见问题解答
- 在ARM/Apple Silicon上安装失败? 运行
brew install vips(sharp依赖项)或使用Node 18+。 - 凭证无法正常工作? 检查环境变量的拼写和大小写。
- 图像输出为空或损坏? 确认输入图像的类型和大小。
🤝 贡献代码
欢迎提交Pull Request和提出问题!请 创建一个问题 或提交拉取请求。
👤 作者
Vuong Ngo – BoomLink.ai
🌐 与我们联系



- 加入我们的Discord 获取支持、反馈和参与社区讨论
- 在X.com上关注我们 获取更新和新闻
- 在LinkedIn上联系我们 了解公司新闻和见解
📄 许可证
MIT
💖 由BoomLink.ai赞助